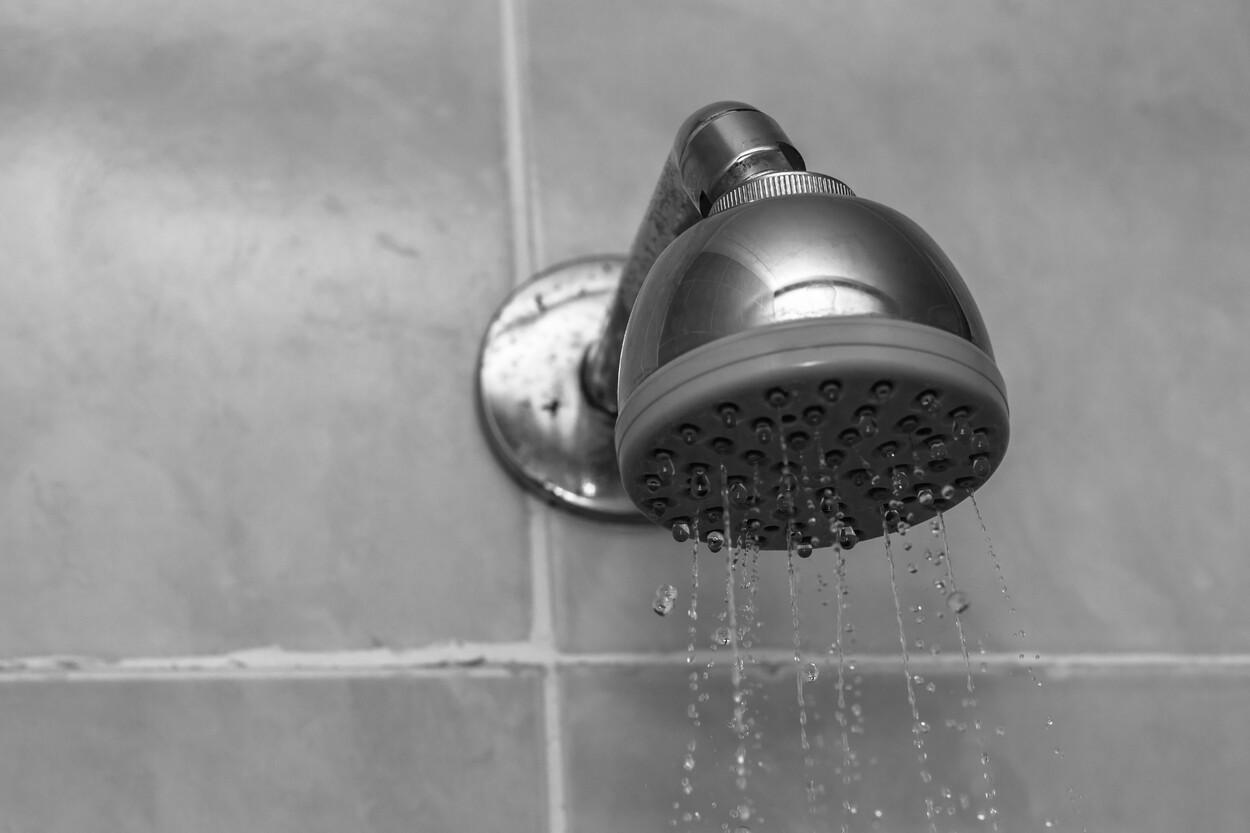
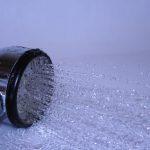
We spend a decent amount of time in our showers, and it’s often a place where we relax and wash away the stresses of the day. That’s why keeping your shower head clean, well-maintained, and running efficiently is a smart move. In this easy-to-follow guide, we’ll delve into 20 topics about shower head maintenance for beginners. From checking for limescale build-up to maintaining pressure with regular checks, you are about to become an expert in shower head maintenance. Ready? Let’s dive in!
Contents
- 1. Regularly Check for Limescale Build-up
- 2. Vinegar Baths for Deep Cleaning
- 3. Scrub Inner Nozzles with Toothbrush
- 4. Avoid Harsh Chemical Cleaners
- 5. Utilize Baking Soda Mixes
- 6. Replace Filters Every 6 Months
- 7. Never Forget Rubber Seal Checks
- 8. Detach for Thorough Cleaning
- 9. Use Needle For Stubborn Grime
- 10. Maintain Pressure with Regular Checks
- 11. Sanitize with Boiling Water
- 12. Rinse Thoroughly After Cleaning
- 13. Regular Maintenance Ensures Longevity
- 14. Dry Properly to Prevent Rust
- 15. Replace Parts if Necessary
- 16. Water Softeners Prevent Build-up
- 17. Seek Professional Help if Needed
- 18. Regular Cleaning Equals Stronger Pressure
- 19. Mineral Deposit Prevention with Filters
- 20. Gentle Treatments for Chrome Finishes
- Conclusion – Shower Head Maintenance Success
1. Regularly Check for Limescale Build-up
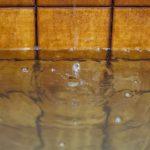
Limescale build-up is not just an unsightly nuisance; it can directly impact the performance of your shower head. A layer of limescale can restrict water flow, leading to low water pressure. Make it a habit to regularly check for the presence of this chalky deposit – often a white or greenish crusty material – on your shower head. Don’t be alarmed if you see one, cleaning agents like vinegar combined with physical methods like scrubbing will be useful.
2. Vinegar Baths for Deep Cleaning
Vinegar isn’t just a kitchen essential; it’s a handy descaling agent too. Conduct a vinegar bath for your shower head every now and then to address limescale build-up and deep clean it from other build-ups or residues. Let the entire shower head soak in vinegar for a few hours (or overnight if necessary). It should loosen up any clogged nozzles and clear out deposits hiding deep within.
3. Scrub Inner Nozzles with Toothbrush
How about giving your shower head some ‘brushing’ time? Using an old toothbrush will help gently scrub out the hidden grime residing inside your shower head nozzles. It’s a targeted approach to cleaning out every spray hole, and it helps in ensuring all the water streams have a clear path to flow. Remember to be gentle; we don’t want to damage any small and delicate parts.
4. Avoid Harsh Chemical Cleaners
Sure, chemical cleaners can sometimes dothe job faster, they can also lead to long-term damage on your shower head (especially if plastic). Some powerful cleaners may degrade materials, chip off surface coatings, or even stain your shower head over time. Instead, opt for gentle but effective home ingredients like vinegar or baking soda for your cleaning needs.
5. Utilize Baking Soda Mixes
The chemistry behind this is simple; baking soda (a base) reacts with acids (like vinegar), enhancing their cleaning powers. Make a thick paste by combining baking soda and water, apply it to your shower head (particularly focusing on the nozzles), leave it for a while, and then wash off. This brightens up your shower head and delivers a thorough clean.
6. Replace Filters Every 6 Months

If your shower head has a built-in filter system, make sure you replace those filters according to the manufacturer’s schedule; usually every six months. Over time, filters can get saturated with the impurities they catch from water. Neglecting filter changes can lead to poor water quality and decrease the lifespan of your showerhead, affecting your hygiene and health ultimately.
7. Never Forget Rubber Seal Checks
Rubber seals are crucial in preventing leaks in our showers. They serve as barriers, restricting uncontrolled water flow. Remember to regularly check these seals for wear and tear. Replacement is easy and cheap compared to dealing with the impact of major water leaks later on. A sound shower system depends on seemingly small but significant parts like these rubber seals.
8. Detach for Thorough Cleaning
It might seem a daunting task, but regularly detaching your shower head for a comprehensive cleaning session is highly beneficial. Being able to clean every nook and cranny would almost reinstate your shower head to its original hygiene state. Being thorough often exposes hidden issues, giving you an opportunity to address them before they lead to greater problems.
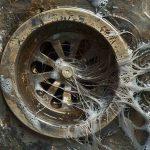
9. Use Needle For Stubborn Grime

Small, stubborn deposits that evade vinegar baths or toothbrush scrubbing may need an extra bit of persuasion to leave your shower head. In such cases, a fine needle can come in handy. Gently poke through the spray holes to clear any residue disrupting the spray of water. Just be careful not to force the needle too deep or use too much pressure as we don’t want to widen the holes or damage the nozzles.
10. Maintain Pressure with Regular Checks
Last but not least, maintaining good water pressure is also a part of optimal showerhead maintenance. Regularly check if your shower head is spraying water evenly. An uneven water supply or low pressure is often a clear signal of clogged nozzles or limescale buildup. Frequent checks ensure that you catch any drops in pressure early enough to conduct targeted cleaning or replacement if necessary.
11. Sanitize with Boiling Water
You’ll find that boiling water is a simple and effective method to sanitize your shower head. In a large pot, bring water to boil; ensure there’s enough water to completely submerge the shower head. Once it starts boiling, carefully submerge your shower head and let it stay there for about 15-20 minutes. This will kill germs thanks to the high temperature of the water. Only handle the hot parts using tongs or other thermal-resistant gloves for safety reasons.
12. Rinse Thoroughly After Cleaning
No cleaning task is complete without a proper rinse. After using any kind of cleaning agent on your home device, including your shower head, don’t forget to rinse off any leftover product under warm running water. This will ensure no residual chemicals or cleaning agents remain, which could affect the shower’s function and longevity. Additionally, make sure none of the spray holes are blocked as this could interfere with normal operation.
13. Regular Maintenance Ensures Longevity
A well-maintained showerhead can last you several decades. By integrating regular maintenance into your routine, you’ll not only uphold the hygiene standard but also protect the materials of your shower head and extend its lifespan. Regular maintenance includes cleaning, descaling, and necessary replacements which prevent industrial processes like rusting and corroding from damaging your device.
14. Dry Properly to Prevent Rust
An effective drying protocol is just as important as a good cleaning regimen when it comes to preventing rust accumulation on your shower head. After each use or cleaning session, take time to wipe down the surface using a soft cloth to spare it unnecessary exposure to moisture—a primary cause of rusting—even if it’s made from rust-resistant materials.
15. Replace Parts if Necessary
Part of regular maintenance sometimes involves replacing components that have worn out over time. Be proactive about checking seals, washers, and other small parts that can deteriorate with use. Remember, replacing these parts as needed not only helps maintain the integrity of your shower head but also ensures its optimum functionality.
16. Water Softeners Prevent Build-up
A water softener can be a worthwhile investment for homes with hard water services. Hard water carries minerals, which can build up in your shower head and affect its performance over time. A water softener is designed to prevent this issue. It reduces the hardness before the water reaches your shower head, mitigating the risk of mineral deposits.
17. Seek Professional Help if Needed
There might be cases when you’ll need to tap into the expertise of a professional; for example, when dealing with heavy mineral deposits or stubborn molds. Do not hesitate to consult a professional who can assist you in this process. This ensures the task is completed safely and effectively, without causing further damage to your shower head.
18. Regular Cleaning Equals Stronger Pressure
Your shower can only give you an invigorating spray if it’s clean and well-maintained. Regular cleaning keeps all spray holes clear to maintain maximum pressure. Mineral deposits or accumulation of soap scum can clog these holes and weaken your shower pressure over time. To avoid this, ensure consistent cleaning sessions focused on all areas of the shower head.
19. Mineral Deposit Prevention with Filters
You can also equip your shower system with filters to keep hard water at bay. These filters are designed to reduce and minimize mineral deposit build-up on your shower head, supporting its regular function. They are typically easy to install and can be a great help in regions with hard water issues.
20. Gentle Treatments for Chrome Finishes
If your shower head is made with delicate materials, such as chrome, extra care is needed to maintain its aesthetic appeal. Use non-abrasive cleaning agents and soft cloths for cleaning, taking care not to damage the finish. Acidic solutions should be avoided as they can cause irreversible damage to the material’s shine and overall appearance.
Conclusion – Shower Head Maintenance Success
From sanitizing with boiling water to applying gentle treatments on delicate finishes, maintaining your shower head does not need to be a daunting task. With these outlined steps, you’ll not only extend the lifespan of your device but also ensure optimum performance each time you step into the shower. Regular maintenance, accurate replacement of parts, and additional measures like installing filters all contribute towards a well-functioning shower system. Remember, when in doubt, don’t shy away from professional guidance.

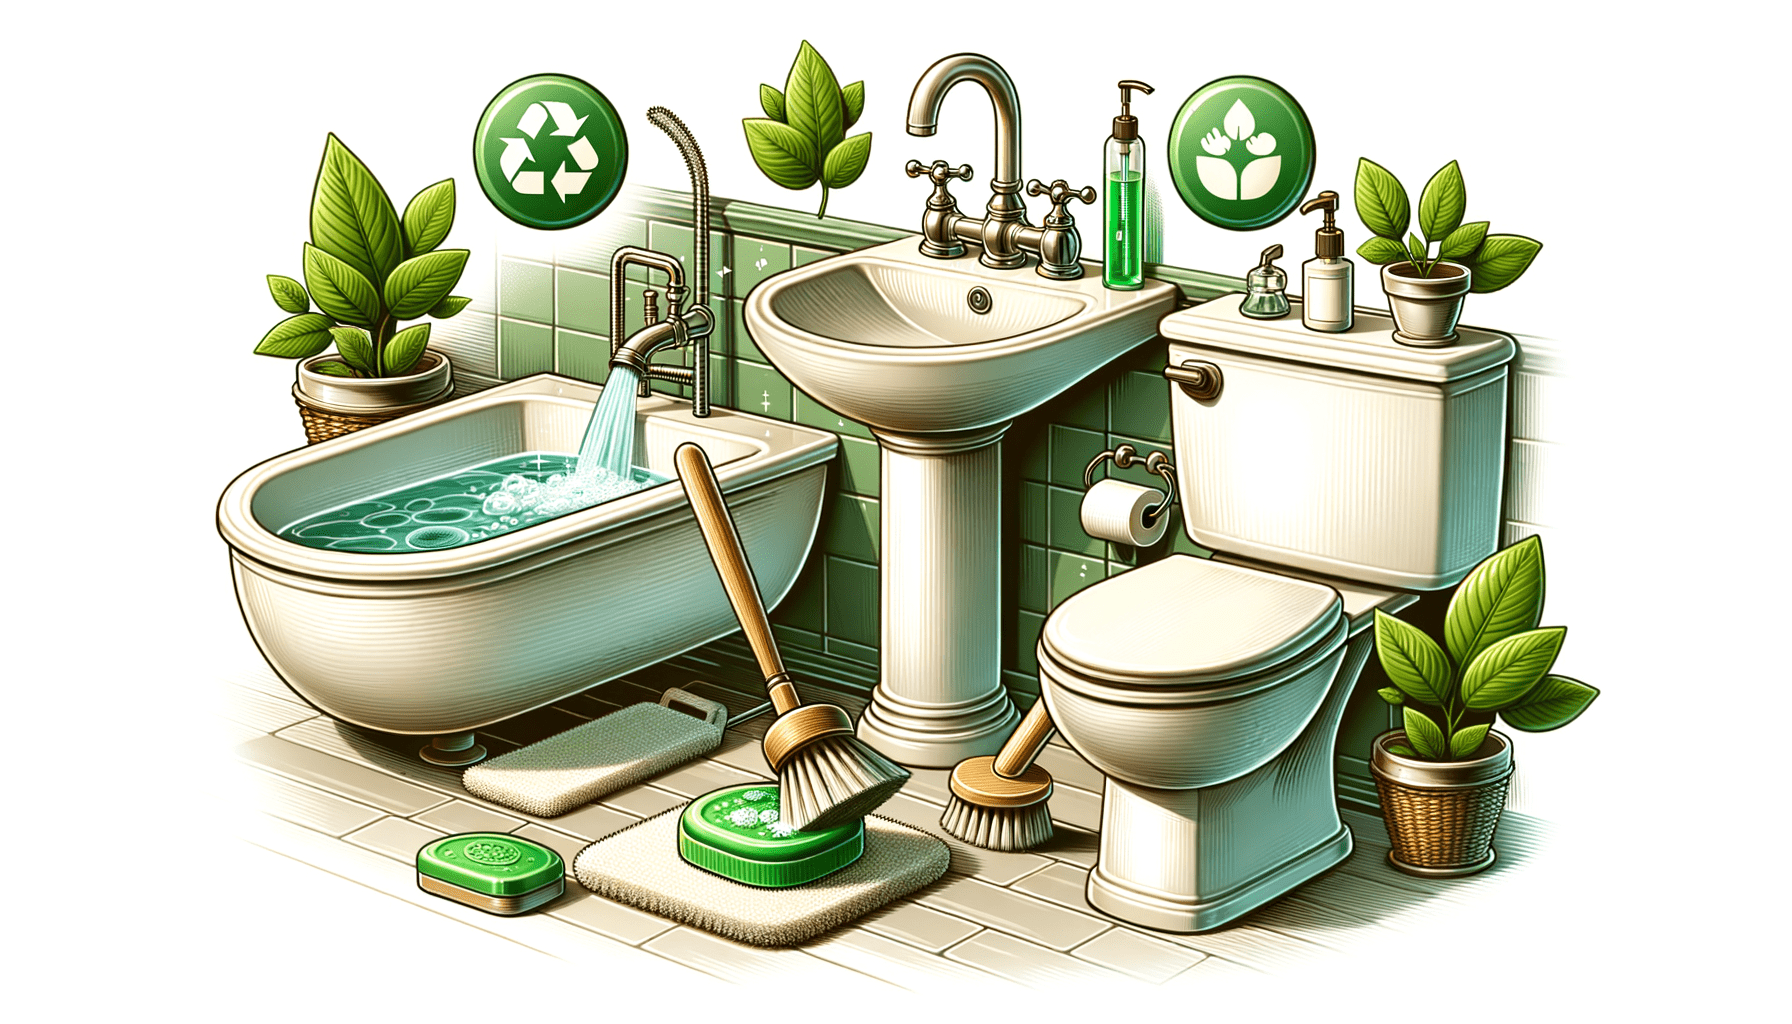
- Clean & Green: Eco-Friendly Cleaning Tips for Your Plumbing Fixtures - October 8, 2024
- Classic to Contemporary: Choosing the Perfect Toilet Suite for your new Bathroom Design - September 19, 2024
- Chlorine Conundrum: The Benefits of a Water Filters in Your Sydney Bathroom - August 28, 2024
Related posts:
 Luxury in Every Drop: Features to Look for in a Premium Shower Head
 Healthy Hair, Happy Drains: Tips for Maintaining a Clean Shower
 Shower Hose Safety: Tips to Avoid Bathroom Floods and Costly Repairs
 Breathe Easy: Why You Should Consider Shower Head Filters for Cleaner Air
 Hair Today, Gone Tomorrow: Tips to Prevent Hair Build-Up in Your Shower Drain
 Calling a Plumber for Shower Head Installation: Why It’s Worth It